


AUTO
What Car Brands are Most Reliable and Why?
When it comes to purchasing a car, reliability is a key factor that no buyer wants...

Motorcycle Safety: 8 Pieces of Gear You Must Have
Motorcycling can be an exhilarating experience, but it is essential to prioritize safety on the road....

5 Tips for Selling Your Luxury Car Online
Are you ready to unlock the secrets to successfully selling your luxury car online? In today’s...
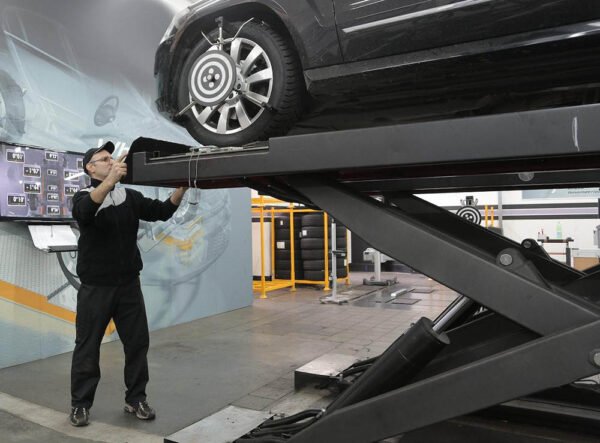
Finding the Best Brisbane Car Repair and Service Centre for Your Vehicle
As a responsible car owner, one of your main priorities is keeping your vehicle in top...
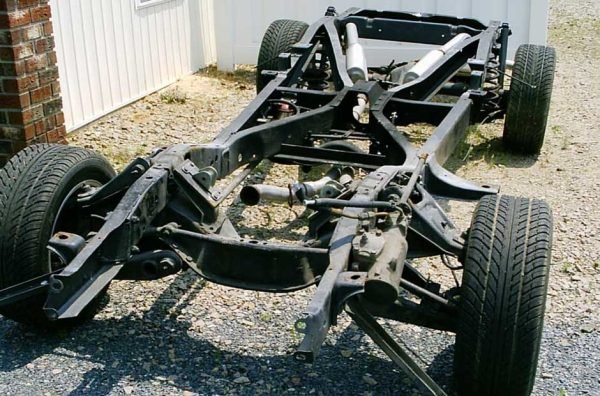
What Is a Chassis and How Does It Impact Your Vehicle?
A chassis is a fundamental component of a vehicle that serves as the framework on which...
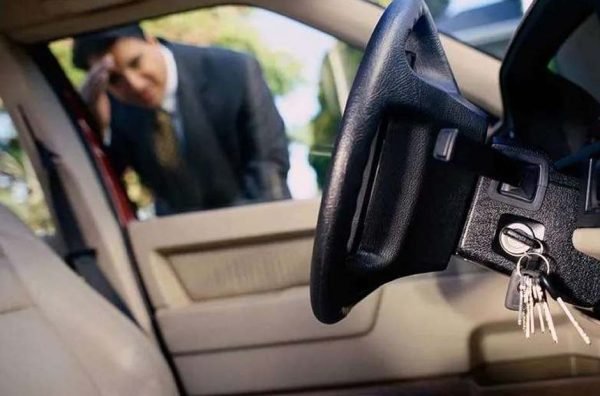
What Can a Car Locksmith Help Me With?
Are you in search of a trusted Las Vegas car locksmith? Finding yourself locked out of...
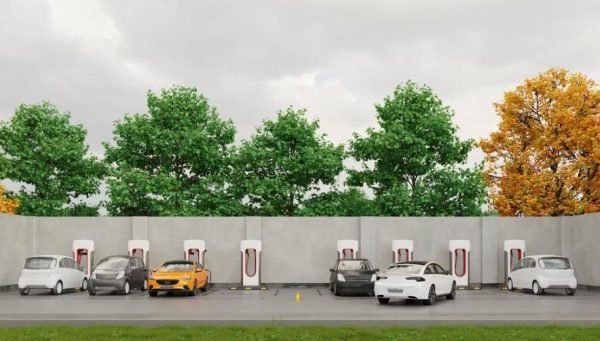
How to Maximize Energy Efficiency in Electric Vehicle Fleet Charging
In recent years, the adoption of electric vehicles (EVs) has gained significant momentum, driven by the...
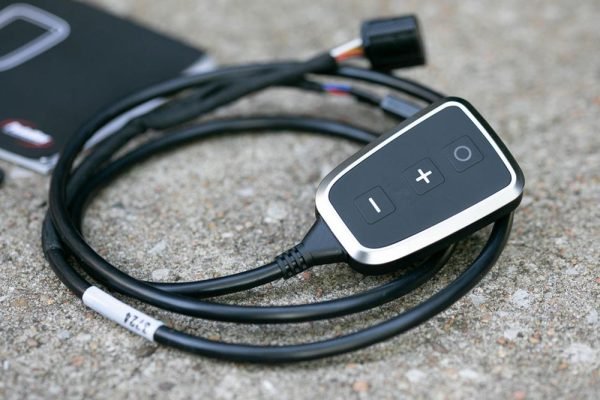
How Can a Throttle Response Controller Unleash Your Vehicle’s Full Potential?
A throttle response controller may sound like something out of a science fiction film to many...

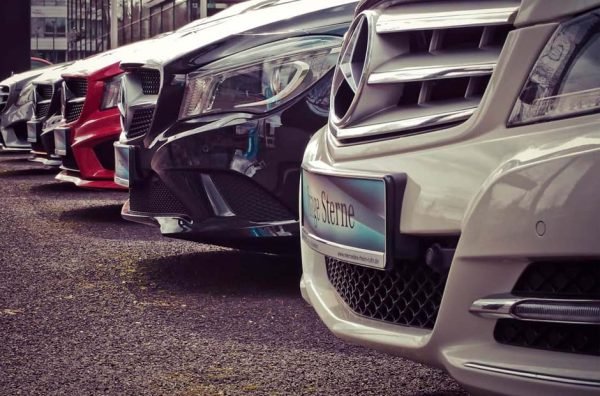
5 Things to Know Before Buying a Car at the Dealership
The process of buying used cars in fort myers can frequently be scary and overwhelming. It’s imperative to...

5 Signs the Brakes on Your Car Need to be Replaced
One of the most important safety features in any car is the brakes. When necessary, they...

Buying a New Car? 6 Tips to Help You Choose the Best Model
Buying a new car can be an exciting endeavor. But with a myriad of choices available...

Why It Is Not Advisable to Tow a Car Using a Rope: 4 Causes to Consider
When your car doesn’t start or breaks down on the road, you may have thought about...
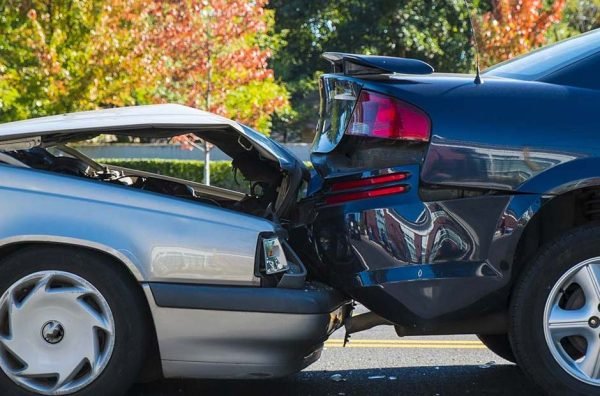
Tips on Dealing with the Aftermath of a Car Accident
A vehicle collision is a terrifying and chaotic event for anybody involved. Maintaining composure and order...

Restoring Peace of Mind: Seeking Help After Car Accidents in West Palm Beach
West Palm Beach, known for its vibrant culture, beautiful beaches, and thriving community, is a city...
The Evolution of Valet Parking: From Luxury Service to Everyday Convenience
Valet parking services have come a long way, transforming from a luxury amenity exclusively available to...