


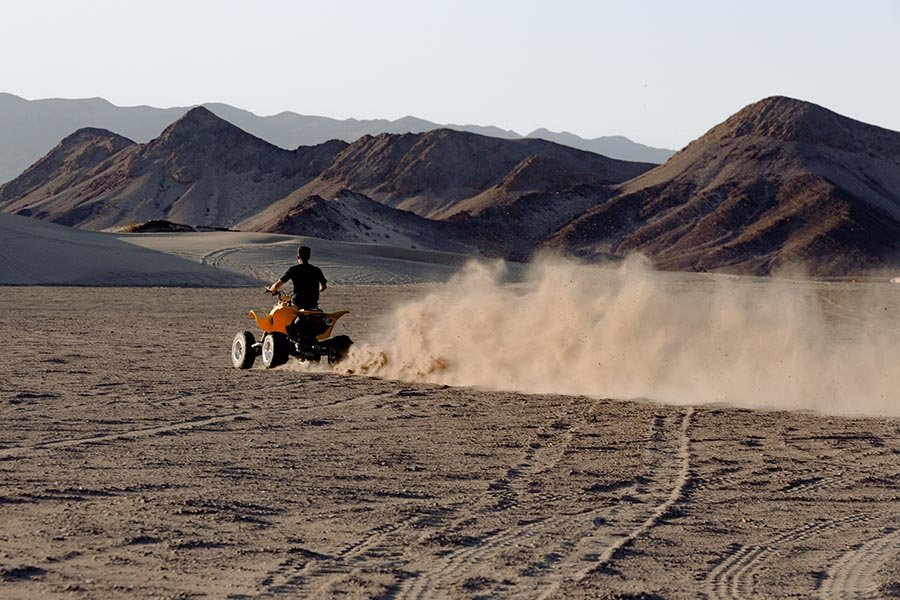
Riding an ATV can be a thrilling experience, but ensuring that it is in good condition is crucial for your safety. One of the most important atv parts is the brake system. Over time, brake lines can become damaged or corroded, leading to a decrease in braking performance. Repairing your ATV’s brake lines may seem daunting, but it is a task that can be accomplished with a few simple steps. In this article, we will guide you through 6 easy steps to repair your ATV’s brake lines like a pro. Whether you are a seasoned ATV enthusiast or a beginner, our step-by-step guide will help you get your ATV braking at peak performance in no time. So, let’s dive in and get your ATV’s brake lines back on track!
Signs of a Damaged Brake Line
Before we dive into the steps for repairing your ATV’s brake lines, it is important to know the signs of a damaged brake line. Some of the most common signs of a damaged brake line include spongy or unresponsive brakes, leaking brake fluid, and a decrease in braking performance. If you notice any of these signs, it is important to inspect your ATV’s brake lines as soon as possible.
Tools and Materials Needed for Repairing Brake Lines
To repair your ATV’s brake lines, you will need a few tools and materials. These include a jack or lift stand, a wrench set, a tubing cutter, a brake line flaring tool, a brake line bending tool, a brake line kit, and brake fluid. It is important to have all of these tools and materials on hand before beginning the repair process.
Step 1: Inspecting the Brake Lines
The first step in repairing your ATV’s brake lines is to inspect them for any damage or corrosion. Start by jacking up your ATV or using a lift stand to raise it off the ground. Next, locate the brake lines and inspect them for any signs of damage or corrosion. If you notice any damage, such as cracks or leaks, you will need to replace the damaged brake line with a new one.
Step 2: Removing the Damaged Brake Line
To remove the damaged brake line, use a wrench set to loosen the fittings at both ends of the line. Once the fittings are loose, remove the damaged brake line from the ATV. Be sure to have a container ready to catch any brake fluid that may leak out during this process.
Step 3: Measuring and Cutting the New Brake Line
After removing the damaged brake line, it is time to measure and cut the new brake line. Use a tubing cutter to cut the new brake line to the correct length. Be sure to measure accurately to ensure a proper fit.
Step 4: Fitting the New Brake Line
Once the new brake line is cut to the correct length, it is time to fit it onto your ATV. Use a brake line bending tool to bend the new line to match the shape of the old one. Then, use a brake line flaring tool to flare the ends of the new line. This will ensure a tight seal when fitting the line onto your ATV.
Step 5: Bleeding the Brake System
After fitting the new brake line onto your ATV, it is important to bleed the brake system to remove any air bubbles that may have entered the system. To do this, fill the brake fluid reservoir with fresh brake fluid and have a helper apply pressure to the brake pedal while you open the bleeder valve. Repeat this process until all air bubbles are removed from the system.
Step 6: Testing the Brake System
The final step in repairing your ATV’s brake lines is to test the brake system. Start by pumping the brakes a few times to ensure that they are responsive. Then, take your ATV for a test ride and make sure that the brakes are functioning properly.
Conclusion and Maintenance Tips
Repairing your ATV’s brake lines may seem like a daunting task, but it is one that can be accomplished with a few simple steps. By following our step-by-step guide, you can repair your ATV’s brake lines like a pro and ensure that your ATV is in top condition for your next ride. To maintain your ATV’s brake system, it is important to regularly inspect the brake lines for any signs of damage or corrosion. Additionally, be sure to replace your brake fluid every few years to ensure that your brakes are functioning at their best. With these tips and our easy-to-follow guide, you can keep your ATV’s brake system in top condition for years to come.


