


Finding oil in the intake pipe is a common concern, especially in turbocharged and direct-injection engines. The intake system should only deliver clean air to the engine, so the presence of oil indicates a problem with pressure control or seals.
This guide explains the main causes, clear symptoms, and a simple step-by-step diagnostic procedure to fix the issue before it becomes expensive.
Main Causes of Oil in The Intake Pipe
A very thin oil film or light mist may be normal in some systems, but visible oil pooling is always a problem. Early action saves time and prevents engine damage. This guide uses plain language so anyone can follow it. Our goal is to help you keep your car running reliably for many miles.
High Engine Blow-By and Crankcase Pressure
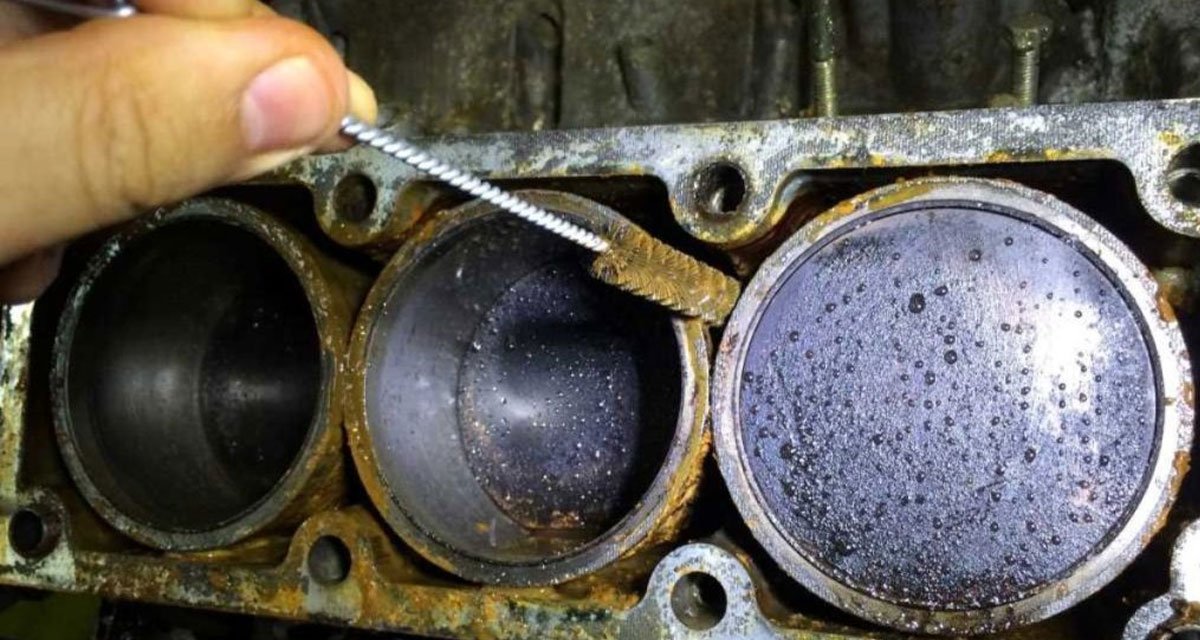
Worn piston rings allow combustion gases to leak past them into the crankcase. This increases crankcase pressure and pushes oil mist through the ventilation system into the intake pipe. This is common in older or high-mileage engines.
A compression or leak-down test can confirm worn rings. Regular oil changes with the correct oil help reduce wear. High crankcase pressure should be addressed quickly to prevent further damage.
Faulty PCV Valve and Ventilation Failures
A faulty PCV valve is another common cause. If the valve sticks or clogs, it fails to separate oil from crankcase gases, allowing oil to enter the intake. Check the PCV valve when the engine is cold by shaking it. You should hear a rattle.
No sound means it needs replacement. Also, inspect hoses for heavy oil accumulation. Replace the valve every 50,000 miles as part of regular maintenance.
To permanently prevent oily residue and moisture from re-entering your intake system, many truck and car enthusiasts opt to bypass the factory setup entirely using premium CCV delete/reroute kits.
Turbocharger Seal Failure and Turbo Blow-By
Worn turbocharger seals can leak compressed oil directly into the compressor housing and then into the intake pipe. To check, remove the intake pipe and look for fresh oil residue at the compressor outlet and in the intercooler pipes.
Gently check the turbo shaft for excessive axial or radial play. If play is excessive, turbo rebuild, or replacement is required. Regular oil changes with the correct oil help protect turbo seals.
Engine Overfilling
Always check the dipstick after adding oil. Overfilling raises crankcase pressure and forces oil into the intake. Keep oil at the correct level between the marks.
If you overfill, drain the excess immediately. This simple mistake is easy to avoid by following the owner’s manual and adding oil slowly.
Key Symptoms of Oil Contamination in the Intake Track
Blue Smoke from the Exhaust Pipe
Blue exhaust smoke indicates oil burning in the cylinders. This often occurs when oil from the intake reaches the combustion chamber.
If blue smoke appears, note when it happens: cold start, acceleration, or deceleration, to help with diagnosis. Never ignore blue smoke; it is a clear sign that oil is entering the intake.
Unexplained High Oil Consumption
Rapid oil loss without visible external leaks suggests oil is entering the intake and burning. Check the dipstick weekly and track oil usage. If you add oil frequently but see no puddles under the car, inspect the intake system for oil accumulation.
Rough Idling and Engine Misfires
Oil can coat the Mass Air Flow (MAF) sensor or foul spark plugs, causing rough idling and misfires. Clean the MAF sensor carefully using MAF-safe cleaner only.
Replace fouled spark plugs as needed. These steps often restore smooth idle, but the root cause: oil in the intake, must still be fixed.
Decreased Engine Performance and Carbon Buildup
Oil contamination bakes onto intake valves over time, restricting airflow and causing carbon buildup. This leads to noticeable power loss and reduced fuel economy, sometimes 10–15%.
Long-term exposure makes the problem worse. Fixing the oil source early prevents costly cleaning or repairs.
What to Check First: A Step-by-Step Diagnostic Guide
Step 1: Verify the Engine Oil Level
Park on level ground, wait a few minutes after turning off the engine, then check the dipstick. If oil is above the full mark, drain the excess. This simple step solves many cases.
Step 2: Inspect the PCV/CCV System Components
Shake the PCV valve (cold engine) and listen for a rattle. Replace if silent. Remove hoses and check for heavy oil inside. Clean or replace as needed. This takes about 30 minutes and often finds the problem.
Step 3: Check the Turbo Impeller and Housing
Remove the intake pipe and look for fresh oil residue at the compressor outlet and intercooler pipes. Gently check the turbo shaft for excess play. Excessive wobble means worn seals. Photos can help track changes over time.
Step 4: Perform a Cylinder Compression or Leak-Down Test
Low compression numbers confirm worn piston rings and excessive blow-by. If you are not comfortable doing this, hire a professional. Test results will guide further repairs.
Tips: If you drive a modified or hard-driven turbocharged vehicle, upgrading to high-performance delete kits can permanently eliminate blow-by contaminants and safeguard your intake track from recurring oil buildup.
Conclusion
A faint oil film in the intake may be normal, but visible oil pooling requires immediate attention. Start with simple checks: oil level and PCV system, before moving to turbo or internal engine repairs. In many cases, installing a quality catch can or CCV reroute kit can prevent recurring oil buildup.
Always verify compatibility with your engine. If you suspect severe turbo or ring failure, consult a professional mechanic. Regular inspection keeps your engine running strong for many miles.


