Are you starting your journey into live sound? You’ll need to learn the basics first. There’s a lot to learn, which can make it feel overwhelming. Lucky for you, this guide will teach you everything you need to know.
So, if you’re ready to learn more about live sound basics, keep reading. We covered everything that’ll be most important to a beginner. Let’s jump in!
What Does a Live Sound Engineer Do?
A live sound engineer is a professional responsible for controlling balance, volume, and more during live events. If you’re a live sound engineer, you’d need to adjust the sound on the fly to make it sound good. You’ll also meet with performers to conduct sound checks before events.
As a live sound engineer, you’ll need to rely on your sharp sense of hearing and listening skills to create a sound that the audience and performers can hear clearly.
Understanding Gain Staging
Gain is essential to live sound. To summarize, the gain is how much a signal is amplified, which makes it easier to hear. Although, when you boost a signal’s gain, you also boost the noise it produces. You can end up with unclear, fuzzy-sounding audio if you aren’t careful.
Each amplifier you have in a signal path is called a gain stage. It includes your preamps, power amps, faders, and volumes. Every addition to the signal path is a gain stage.
If you’re gain staging, you’re using these parts to set the audio to an optimal level while minimizing noise distortion. Your main goal is to get the best sound for the live performance.
Another part of gain staging is plugging your gear into the right jacks. Take a moment to double-check that all your lines are going to the correct spot when setting up.
Overall, gain staging is one of the first aspects of live sound you’ll need to familiarize yourself with. When you do it right, it can make your audio quality perfect. However, it also has the potential to ruin the sound when done incorrectly.
Know the Parts of Your Mixer Console

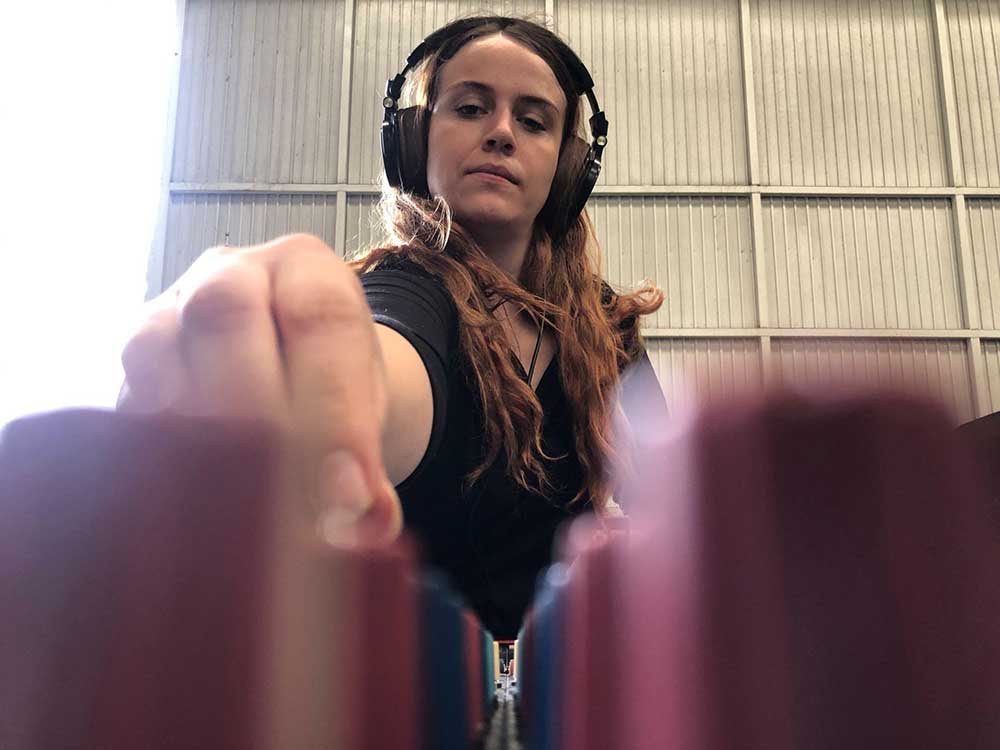
Your mixer is where you’ll be doing most of your sound work from. You control all inputs, including mics and instruments, from it. All the inputs are processed by the console using the settings you enter.
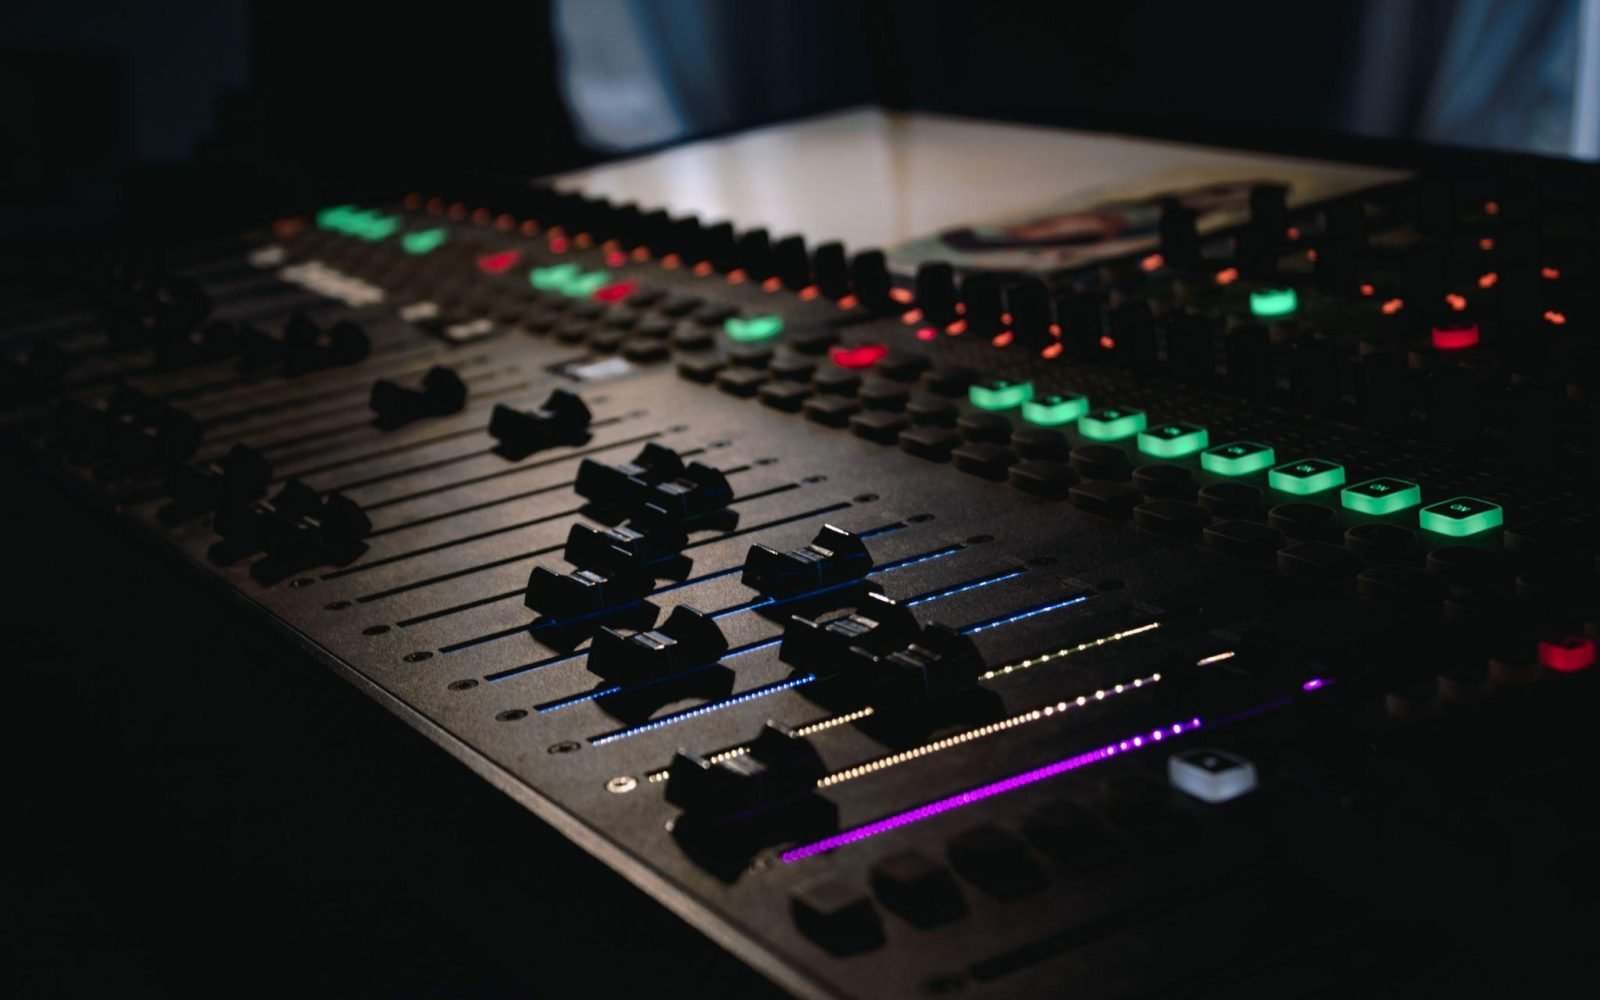
Let’s break down some of the main parts of your mixing console:
- Channel strip: Consists of a verticle section of inputs, gain, faders, equalizers, and more. You’ll have as many channel strips as channels in the mixer.
- Channel: Consists of the input path to reach the outputs, where the signal is sent to the speakers.
- Preamp: There should be a preamplifier on every channel. It accepts a microphone and determines its incoming gain signal.
- Inputs: Where the console receives external signals.
- Inserts: Where a signal is interrupted, taken out of the mixer, then sent back in. It’s used for creating effects usually.
- Gain Knob: Controls the signal level coming into that channel on the mixer.
- Equalization: Also called “EQ,” this part can change the balance between frequencies that make up a signal. There are high, mid, and low frequencies.
- Auxiliary Sends: Aux sends are a form of output in the mixer. It controls every input channel on your mixer, allowing you to route a signal to add effects. You can also use it to create a monitor mix so performers can hear themselves.
- Faders: This lets you adjust the volume of the channel.
Avoiding Feedback
Next, you must know how to avoid feedback regarding live sound. Feedback is the loud, screeching sound that your PA system makes. Audio is in a loop when it happens, making it significantly amplified.
You want to avoid this at all costs during a performance because it can be sudden and startle viewers. Here’s what to do:
- Position all of your PA speakers carefully. Don’t put them behind the performers.
- Mics should be pointed away from monitor wedges and speakers.
- Use mics that have cardioid patterns. These mics only pick up sound from in front.
- Raise the source volume to help hide ambient speaker noise.
- Consider having the performers use in-ear monitors instead of stage wedges. You’ll no longer have to compete with the stage wedges.
It’s best to avoid feedback as much as possible since it can be challenging to cover up. Attempting to suppress it doesn’t eliminate the problem and can negatively impact the quality of your sound.
You can get feedback suppressors, but some software already has this feature. It’s handy, but it still comes with some cons. For instance, it’s always cutting the feedback, so you don’t try lowering it in the first place. That means the sound’s quality still isn’t where it needs to be, and you won’t notice it.
You’ll need to arrange your front of the house to have as little feedback as possible.
Consider the Volume and EQ For the Space
Every space will have slightly different needs regarding volume and equalizing. Familiarize yourself with the environment and its natural sounds. Then, think about how you can keep the lead vocalist, or whatever sounds need to stand out the most, at the level it needs to be.
For example, you will need a different setup for a large open venue than a closed, small one. Listen to your favorite songs through the system and see how they sound. Then, adjust them to match the space.
Many mixers use scenes you can bring up, so you won’t need to adjust as much after doing it once for a certain space.
Focus on Learning the Basics Live Sound

In short, you’ll want to spend most of your time learning the basics of mixing live sound. There are plenty of options for a live sound mixing course online you can choose from. You should learn your gear and practice as much as possible. Eventually, it’ll all become second nature to you.
Knowing gain staging, understanding the ins and outs of your console, and avoiding feedback should be your main focus for now. You’ll also want to learn how sound differs in different places to get the best from your equipment.


