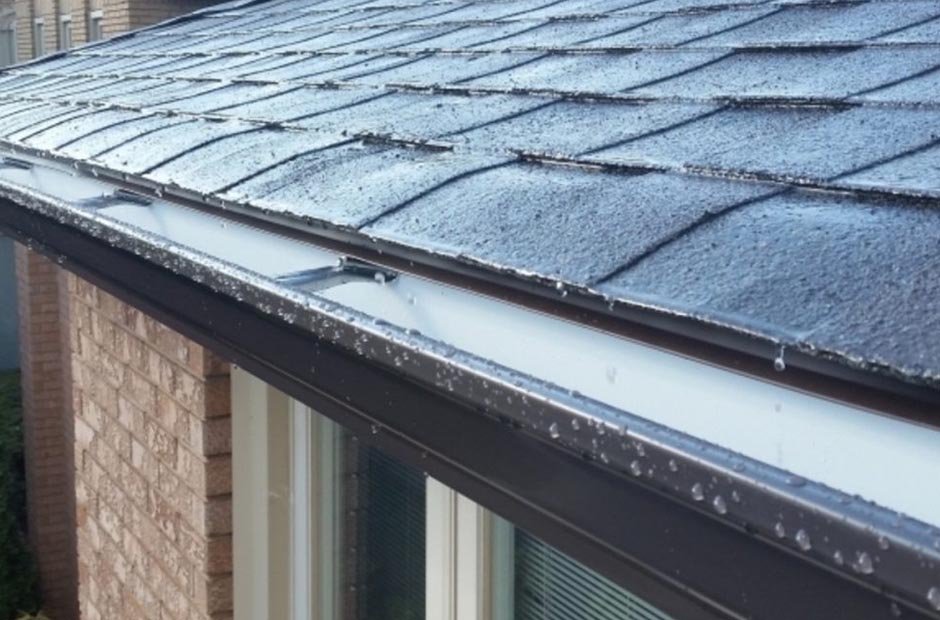
Our eavestroughs are seemingly simple structures, but they ensure proper water flow – keeping our homes dry and safe from water damage. Therefore, if your gutters give up the ghost or get overwhelmed whenever a storm hits, a replacement could be on the cards.
On that note, consider iReno Eavestrough and Siding for all your gutter or eavestrough installation needs in Toronto. The firm also offers a service guarantee, a testament to its commitment to providing top-tier services. That being said, the process of hanging gutters involves the following:
1. Inspection
Before installing or replacing your eavestrough, an inspection is necessary to ensure other components are operational. The installer also takes measurements so they can provide an accurate estimate for the job and set up a properly fitting gutter system.
While at it, they examine other components such as fascia or soffit. These elements make up the system, and water drainage can become an issue if one is out of commission. For instance, if the gutters are in order, but the downspout is clogged, the runoff can impact your foundation or basement. Plus, ineffective drainage can cause mold build-up. Thus, as your go-to installer defines the system, they can locate problem areas and suggest solutions. Some of their pre-installation considerations include:
- Your eavestrough’s slope – Gutters should be sloped 1/2 inch every 10 feet, ensuring water reaches the downspout. The technician should be using tools like a roof truss calculator to adjust the gutters to achieve the correct angle.
- The height of your home – The height of your house should match the size and style of your gutters. If the system is too small, it won’t handle heavy rainfall and may leave your home susceptible to water damage.
- Downspout size and location– The size of the downspout depends on the number and length of your gutters. A tiny spout can suffice if they’re short, but if the eavestrough drains a significant area, you’d require oversized downspouts. It also helps if your downspouts are inconspicuous – your guests or passersby shouldn’t notice the extension of your gutter system.
- Mounting hardware – depending on the gutter’s material or roof design, you may need mounting straps or hangers. For instance, vinyl eavestrough needs mounting screws; aluminum requires hangers with nails; and so on. The idea is to define your needs to streamline the installation process.
2. Eavestrough Preparation
Some installers order gutter systems from specific manufacturers. Others specialize in custom installations, implying they may fabricate the gutters on-site and install them right away.
Depending on your preferred setup, you may opt for sectional or seamless gutters. That said, the latter provides better protection as the lack of seams prevents leaks.
Your contractor also needs to remove your old gutters in readiness for the installation. They use special tools to ensure a safe removal process. Plus, if your existing system has mold or mildew, they’ll clean the area to create a sanitary setting for the new gutters.
With that in mind, ask your installer about the materials they use to design or fabricate your eavestrough. In other words, strength and longevity should factor into your equation.
3. Affixing Outlets
It’s advisable to assemble some components – end caps and outlets before mounting the eavestrough. In so doing, the contractor ensures a professional finish while connecting the pieces. Plus, they can check for obstructions that may hinder the placement of the fixtures.
For instance, if your downspout is too close to a tree or other plants, water may cause root damage and thus disrupt the installation. Therefore, the installer can relocate the spout to a more appropriate spot, cut holes in the gutters, and fix corresponding outlets. Working on the ground also ensures safety, as the technician can avoid slipping on a ladder.
4. Eavestrough Installation
If your home has fascia boards, the installer hangs your gutters using special hidden brackets. The hanging hardware should be robust enough to handle the weight of your eavestroughs (and the water they collect).
For homes with gutter aprons, your contractor may need to drill holes in the roof’s edge to anchor the eavestroughs. Once mounted, they join the sections using sealants and rivets.
They also use a level to ensure the system is well balanced, meaning the slope of your eavestrough is even throughout its length. Then, they attach the downspouts to the outlets, securing them using brackets.
5. Inspection of the System
Once all the components are in place, your technician inspects the system for issues. For instance, they check for leaks, potential structural issues such as loose fittings, misalignment, and other installation problems.
Before ripping out the old system, clearly understand your needs so that the installer can help you choose the right eavestrough. Plus, it doesn’t hurt to be aware of what to expect once the technicians pitch up for the installation, right?


