

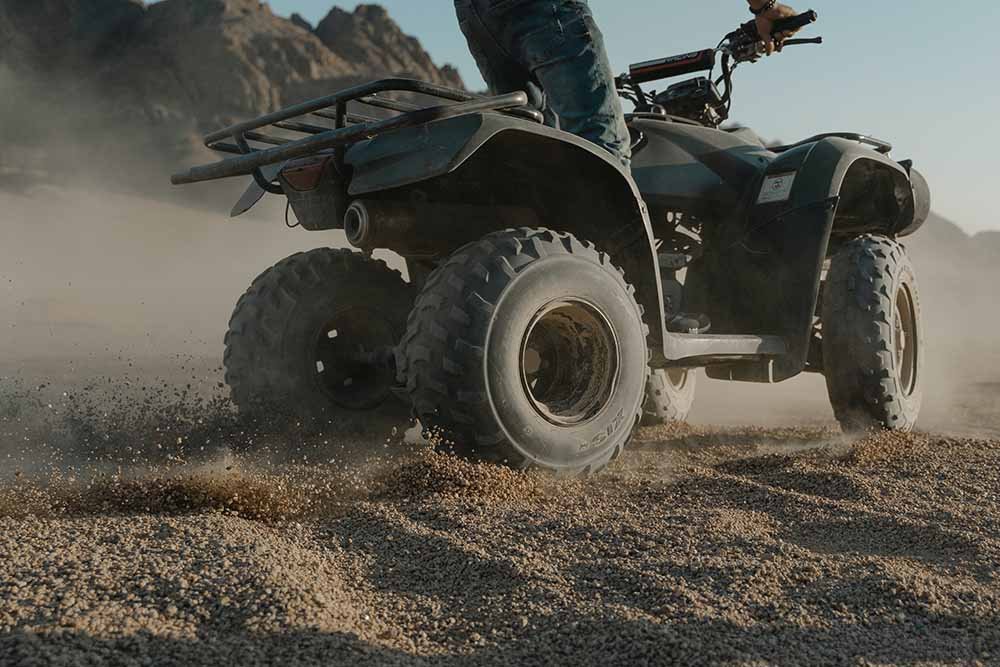
Maintaining your all-terrain vehicle (ATV) is essential to ensure its optimal performance and longevity. One critical aspect of ATV maintenance is the regular inspection and replacement of components like roller chains. These chains play a pivotal role in transmitting power from the engine to the wheels, making their proper function crucial for a smooth and enjoyable riding experience. In this guide, we’ll walk you through the step-by-step process of changing the roller chains on your ATV, helping you keep your ride in top-notch condition.
Roller chains are an integral part of the drivetrain in an ATV, responsible for transferring power from the engine to the wheels. Over time, due to exposure to dirt, mud, and stress from off-road adventures, these chains can wear out and lose their effectiveness. Regular maintenance, including replacing the roller chains when necessary, is crucial to keep your ATV performing at its best.
Step 1: Gather the Required Tools and Parts
Before you begin the process, gather all the necessary tools and parts. You’ll need a socket wrench set, pliers, a chain breaker tool, a new set of roller chains (which you can find at stores that sell ATV parts online), a soft cloth, and some lubricant designed for ATV chains.
Step 2: Safety First
Safely position your ATV on a level and secure surface, engaging the parking brake to prevent any unintended movement. Prioritize your well-being by contemplating the use of gloves and protective eyewear – a small precaution that can go a long way in ensuring your safety throughout the procedure.
Step 3: Remove the Old Chains
Start by locating the master link on the old chain. This link is identifiable by its different shape or color. Use the pliers to remove the clip that holds the master link in place. Once the clip is off, slide the master link out. Then, use the chain breaker tool to push the pin out of one of the chain links. This will allow you to separate the chain.
Step 4: Measure and Cut the New Chain
Remove the new roller chain from its packaging and lay it on a clean surface. Take a moment to compare its length with that of the old chain, ensuring it corresponds to the correct size. Should you find the new chain to be longer, utilize the chain breaker tool to delicately remove any surplus links until it aligns with the dimensions of the old chain. This step guarantees a proper fit and smooth operation of your ATV’s drivetrain.
Step 5: Install the New Chain
Start by placing the new chain onto the ATV’s sprockets. Make sure it aligns properly and fits into the teeth of the sprockets. Reconnect the chain using the master link. Insert the pin into one end of the chain, and then carefully position the master link over the pins. Use the pliers to reinstall the clip that holds the master link securely in place.
Step 6: Adjust Chain Tension
Proper chain tension is vital for optimal performance and longevity. An overly tight chain can stress the drivetrain components, while a loose chain can lead to slippage. Most ATVs have an adjustment mechanism near the rear axle. Use your owner’s manual as a guide to find and adjust this mechanism, ensuring the chain has the right amount of slack. Generally, you should be able to move the chain up and down by about 1 to 1.5 inches at the midpoint between the sprockets.
Step 7: Lubricate the Chain
Applying the appropriate lubricant to the chain is of utmost importance as it plays a key role in reducing friction and preventing excessive wear. Opt for a specialized ATV chain lubricant to ensure optimal performance. Gently apply the lubricant along the entire length of the chain, allowing it to penetrate the links effectively. Remember to eliminate any surplus lubricant using a clean cloth, maintaining a balanced application for optimal chain longevity.
Insights and Takeaways
Maintaining your ATV is a responsibility that every enthusiast should take seriously. The roller chains are a vital component that keeps your ATV running smoothly. By following these steps, you can confidently change the roller chains on your ATV, ensuring its continued performance and extending its lifespan. Regular inspections and replacements of crucial ATV parts like roller chains not only enhance your riding experience but also contribute to the overall safety and reliability of your machine.


